So what do you do when you want some beautifully bright hued elastic for your project? Be like Dana from Make and dye it!

How amazing would some dyed elastic look on the tank dress?

 |  |  |


 | ||
A few weeks back I made a skirt for my daughter inspired by this look from project runway. It was from the team challenge, from team millitary lace.
This is the skirt I made for my daughter tutorial found HERE |
 |
| Today we are going to make a few adjustments and make one for a grown up. |
 |
| So let's get started! You will need:
|
 |
| The pattern for this skirt is really easy. Here are the basic shapes. All straight lines so I cut it free hand. Then length of all the pieces is the same and that is the desired length you want the skirt (plus enough for hemming and finishing the top edge so add an inch or two) To get the width Measure around the widest part of your lower half for me it is around my hips and behind. Divide that in half this is the width of the front piece, then cut a back piece the same width plus 1 inch and cut that in half the long way so you have two rectangles (pictured on the right in the picture) With your front piece fold it in half and cut away the space for the side panels. How big you make them is up to you. I measured from where I would wear the skirt on my waist down just past my hip bone and that was how low I cut, as for width, I did about 5 inches. Again it's up to you and how you want it to look in the end. Then with the width of what you cut away (so for me 5 inches) cut two rectangles that width and the length of the skirt. Then you are done. Easy right? |
 |
| On to sewing. First sew under the top edge. (you can do this now to all of your pieces, it will save you time later) |
 |
| Then you are going to take your piping and pin it along the edge of your cut out. (on the right side of the fabric) Pin it piping facing in, and when you get to the corner as shown above you can put two little slits in the edge of the piping to help you round the corner. Once you pin it sew it in place following the stitching line that is already on the piping. |
 |
| Then turn the piping so the flap is in the wrong side of the fabric and your piping should neatly outline the cutouts and top stitch in place. |
 |
| This is what you should end up with. Do it for both sides of the cut out. |
 |
| Then take your long narrow rectangle and with the basting stitch sew along both long sides of the piece. |
 |
| Then pin your ruffled piece in side the cut out. |
 |
| On the back now. First sew the zipper in place. (follow the instructions on the zipper you buy) |
 |
Then sew the two back pieces together below the zipper. I thought I got a picture of this next step but I didn't sorry. Next you are just going to sew the right sides together along the side seams, sewing together the front and back pieces. |
 |
| If you tried your skirt on at this point then you probably noticed it is a box that is a gapping mess all around your waist. If for some reason it it not and it fits your perfect then skip this next part. So to pleat the top of the skirt so that it fits your body this is what I do. Measure around your waist where you will wear the skirt. Subtract that measurement from the measurement of the skirt. This will tell you how many inches you have to take out of the skirt. Starting in the middle back I place one pleat on each side of the zipper, and then another pleat and so forth until your measurement becomes your waist measurement. To make these pleats, fold the fabric over so right sides are together and place a pin how narrow or wide you make the pleats depends on how much you are taking in. Then measure from your waist down to where your widest point is, this tells you how long your pleats should be. I pin the whole pleat and then Try the skirt on inside out o see if it is a good fit. |
 |
| Then sew your pleats. The bottom of your pleat needs to taper off real gradually so your done have a weird pucker on the outside so make it a gradual slope (like pictured above) |
 |
| When you are done pleating, you re done with your skirt. After this I added a few buttons to the front, but that is optional, do what you like. |
 |
| Try it on |
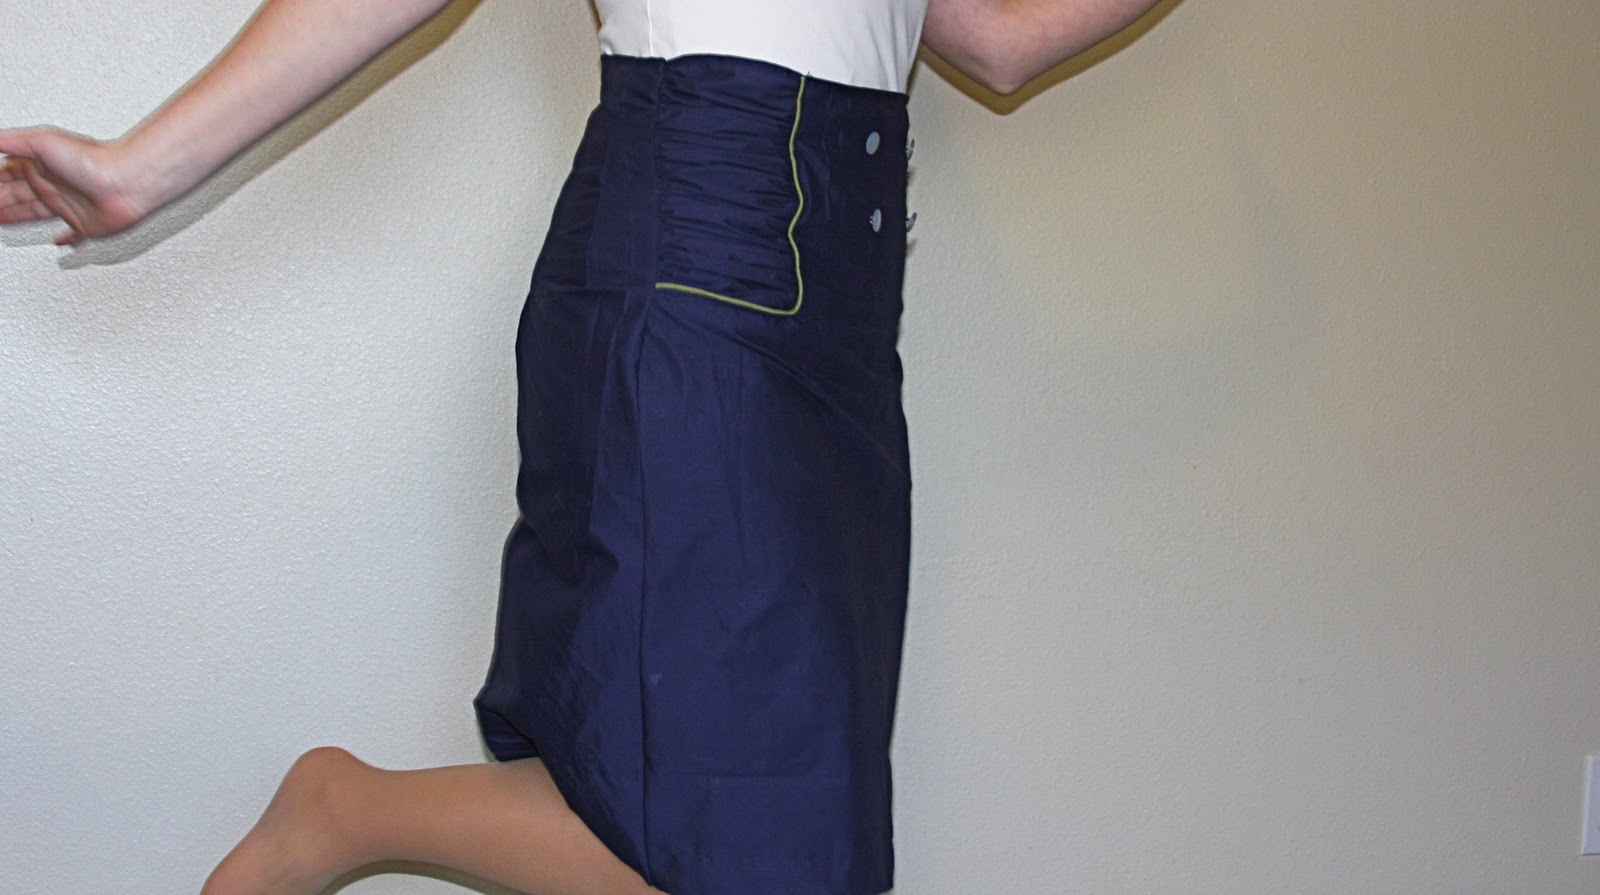 |
| Jump around |
 |
| And Enjoy! |


I was contacted a while back by a representative from CSN (that online store where you can get pretty much anything - a bar stool (which I want for the breakfast bar I will someday have in my post-graduation apartment), other furniture, clothing, baking stuff, you name it!), asking if I'd be interested in reviewing a product of theirs on my blog. I was told I could either get a free product from them or pick something to give away. Well, I couldn't just pick something for myself of course, but I thought it'd be kind of boring to just do a giveaway.
So, here's the deal. I'm getting 2 of something from CSN - one for me to review and do some tutorials with, and then one to give away!
What is it you ask? A bundt cake pan. Sounds kind of weird for a sewing blog, right? When I originally started this blog however I wanted it to be a mix of different creative pursuits, and I've been getting the baking itch lately. So, I'm going to come up with a series of tutorials/recipes of awesome and yummy things you can make in this pan, and then after I show you all how to make them I'll hold the giveaway!
What do you think? Interested?
I already have some awesome guest posters lined up, so keep checking back - the first one will go live on Wednesday!


