Tuesday, August 31, 2010

Salsa Skirt - Summer of Skirts


Sorry for my absence; I just moved back to Oregon and was very busy packing and wrapping things up! There is (probably) only 1 more summer of skirts post after this one, as summer is sadly coming to an end.

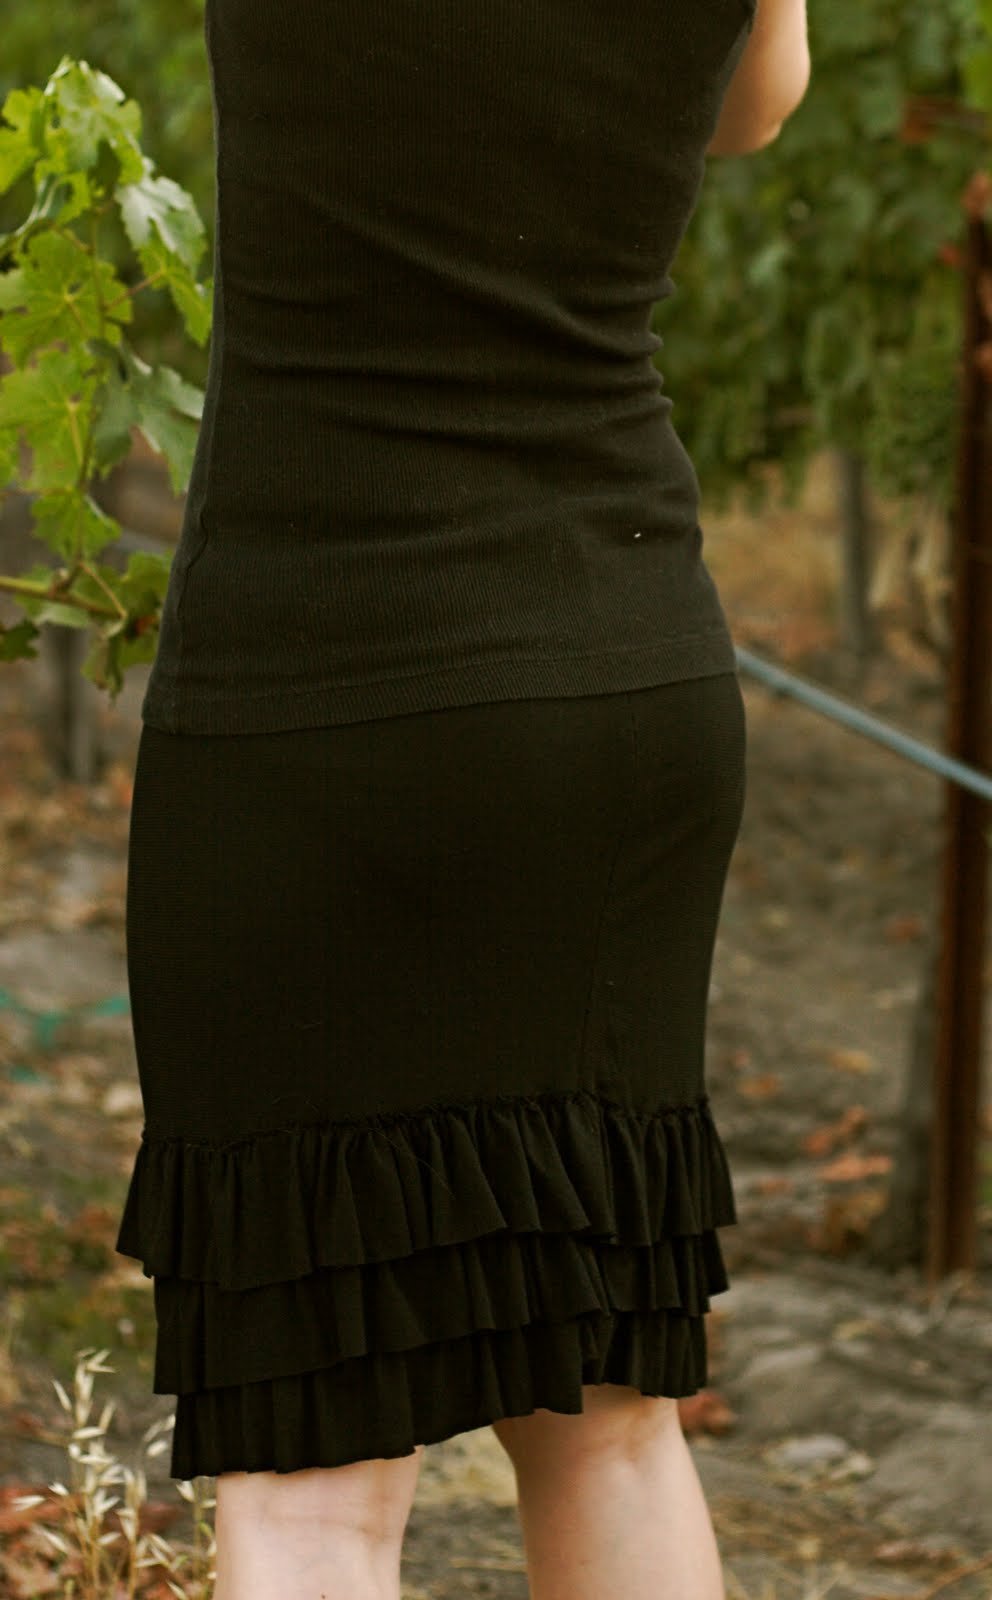
This skirt is quite similar to the blue ruffle skirt as far as construction goes, but it is simpler and has a very different look to it! I thought it looked like a mix between a pencil skirt and a flamenco skirt, and then I realized it reminded me of a salsa dancing skirt! Hence the name :)

What you need:
- About a yard of knit fabric, depending on your size (see step 1 for details).


I made this skirt have a half lining to it because the knit was so thin. So, I had extra fabric along the inside.

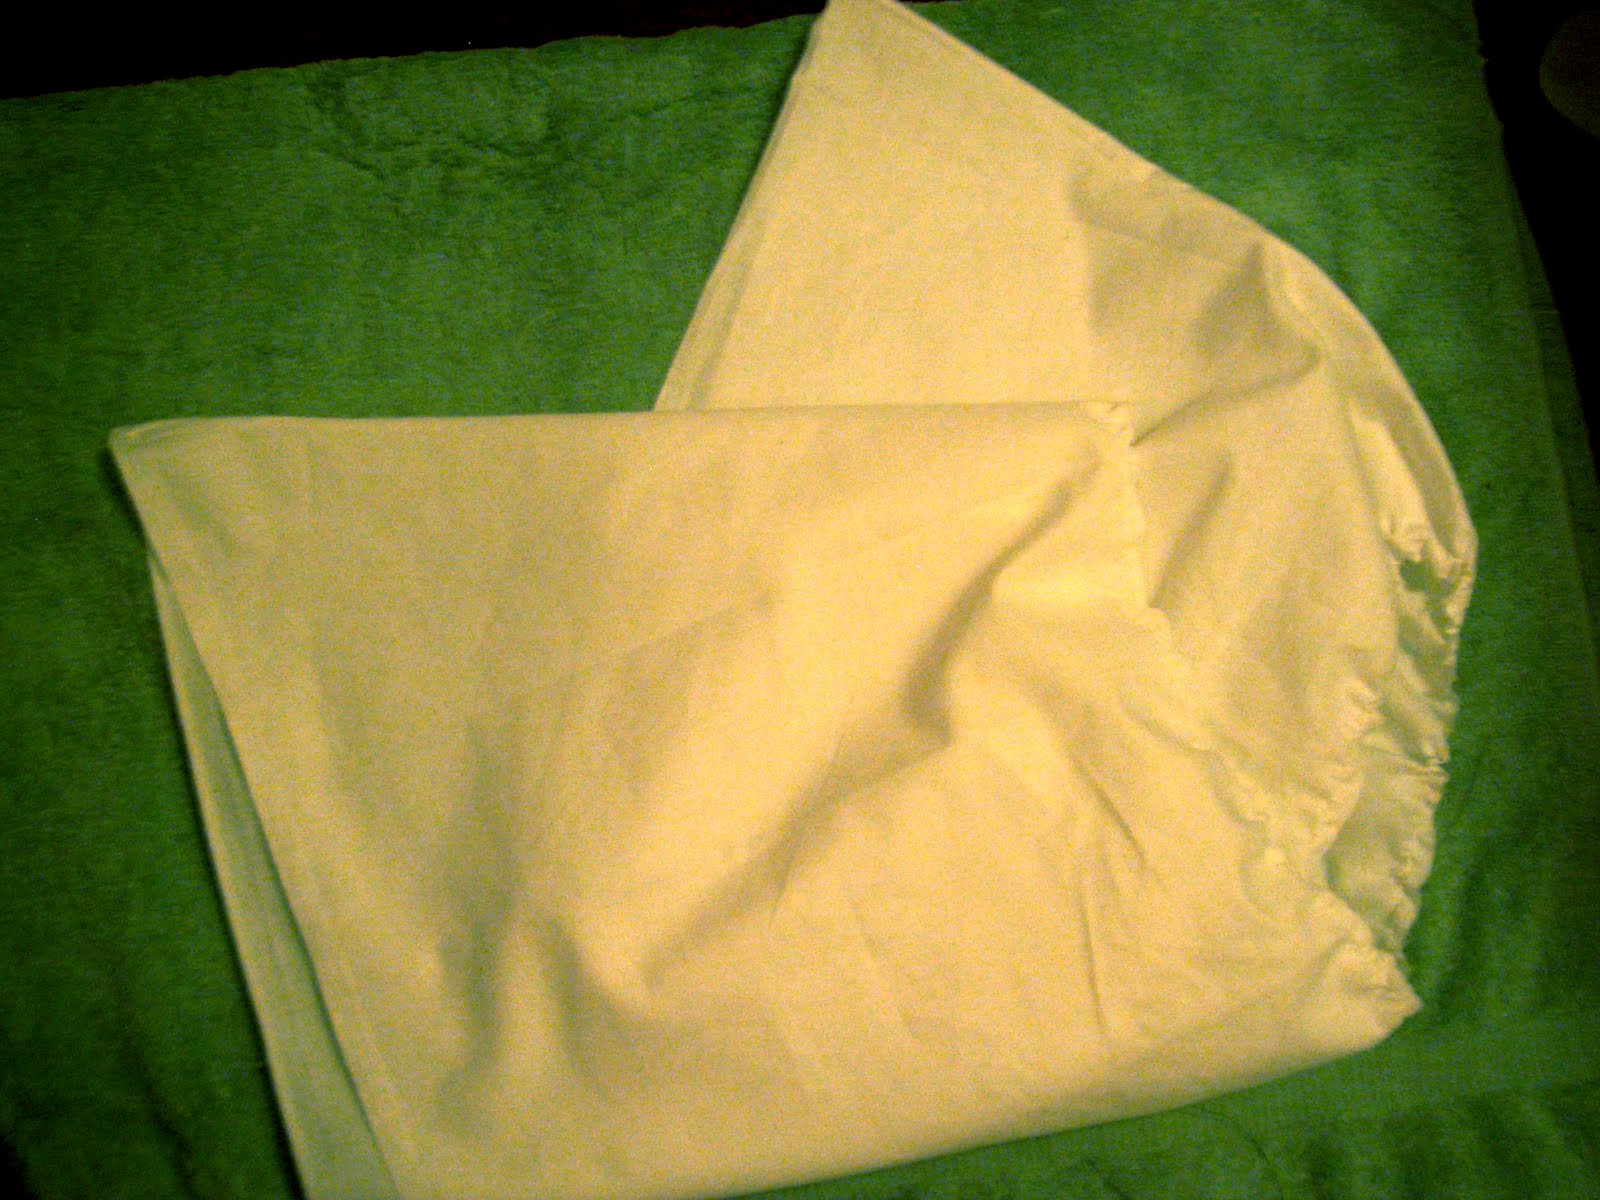
Step 1: Measure around the widest part of your hips. Add 2 to that measurement. This is w. Also, measure how long you want the skirt to be, and how long you want the extra lining material to be - usually just enough to cover your rear is good- and add it to itself. This is L. Next, cut out three strips measuring 2 inches by w.


I'm sorry I didn't get pictures of this part. If you have questions let me know!

Step 2: Mark where your length measurement of the skirt ends (so you should have a mark between the extra lining fabric you added and the actual length you want your skirt to be). Fold the fabric at that point, so you wind up with a fold at the waistband, the normal skirt on one side, and the lining part on the other. Do this on both pieces of fabric, and then pin them together so the lining part is on the OUTSIDE.


Step 3: You might want to curve the top of the skirt, depending on where you want your skirt to sit. I wanted mine to sit on my waist, so I curved it along the hips a bit - with the lining still pinned and the skirt folded (because you'll want the lining curved as well). If you need help with this, go here. Now, simply sew the sides together on your two pieces of fabric, and you'll wind up with your main skirt piece. Now turn the skirt right side out, and you're onto the ruffles!

Step 4: Gather each of the three ruffles. Pin the first one to the bottom of the skirt, so the edge lines up with the bottom of the skirt. Sew it on!


Step 5: Repeat with each of the other ruffles, laying each on top of the previous one so that the seam is covered. I just had my top ruffle's raw edge exposed, but if you don't like that you can do the following:


Sew the top ruffle on about an inch above the second one, put facing the opposite direction. Then, press it down flat over the other ruffles, the way it's supposed to be. This will hide the seam. You may need to do a topstich over the ruffle though, as it may poof out a bit.


Ta da!! Time for salsa dance lessons!
]

Saturday, August 21, 2010

Summer of Skirts - Pinwheel Skirt Tutorial


How adorable is this skirt? I think it's my favorite skirt tutorial I've featured yet! Leanne from Elle Apparel put together this tutorial for a guest post on Ucreate - learn how to make it here!

Wednesday, August 11, 2010

The Hera Shirt GIVEAWAY - Closed


Here is my latest giveaway!

I am REALLY excited about this shirt, and I hope you guys enjoy it!

This one-shoulder, greek-style top is named after the greek goddess Hera, who for very complicated reasons I won't go into is associated with peacocks. Hence the beautifulturquoisecolor.

This beautiful, very comfortable shirt can be worn 3 ways (shown below) and can fit a size xs to a large.


There is one difference between the shirt I'm giving away and the one in the picture. The giveaway shirt has a band of the same fabric around the bottom, because I felt it was a little too short. If you don't want that band there, you can simply cut it off!

Now, for the rules. Read carefully!

You can enter 1, or 2 times.

For 1 entry: Leave a comment and follow my blog!

For 2 entries: Leave a comment, follow the blog, and link back from your blog!


Monday, August 9, 2010

Guest Tutorial - Sewing Basics!

I was so very honored to be asked by Chris of Pick Up Some Creativity to do a guest post as part of her Sewing 101 series. I chose to share a tutorial on pintucks, as I use them all the time and I think they are one of the coolest ways to add a little shaping and detail to a project!


Check out the tutorial here.

Saturday, August 7, 2010

Summer of Skirts - The Cupcake Skirt


This skirt didn't turn out quite as planned. I didn't intend for it to be so... cupcake-y. And I guess by that I mean poofy. Part of the reason why the top is so puffy is because I used muslin for the whole thing. If you want to avoid that, get some cotton gauze for the top part or an equivalent fabric. Anyway, here it is - the cupcake skirt!


What you need:

- bleached muslin: I used a yard and half, but it depends on your size.
- unbleached muslin: 1/2 yard
- enough elastic to fit around your waist

Sorry about the horrible pictures; my camera died so I used my roommate's and obviously had no idea what I was doing.

Step 1: Cut out the main skirt piece. For this you'll want to follow the basic skirt tutorial, but you'll want the skirt to be less full and puffy. Also, it helps to contour the skirt a little so it's more a-line (so, make it a little narrower on top). This will keep it from being to puffy on the top around your hips.


Step 2: Now, measure the bottom of your main skirt piece (just one of the pieces). Multiply that by two, and then again by 1.5. Cut out 2 ruffles each from the unbleached muslin and the bleached muslin measuring the above by 2 inches.

Set aside the remainder of your bleached muslin - you will use this for the upper ruffle part of the skirt later.

Step 3: Sew the sides of the main skirt part together. Gather each of the strips you cut out to the width of the skirt, and pin a bleached ruffle on to the bottom of the skirt -about an inch away from the edge of the skirt. Now, sew the ruffle to the skirt.


Step 4: Repeat with each of the ruffles, alternating bleached and unbleached. Make sure you sew each ruffle on low enough so that it covers the seam of the previous ruffle.

Once all 4 ruffles are on, your skirt should look like this:


Step 6: Now for the upper ruffle. Measure the length between the top of the last ruffle you've sewn and the top of your skirt, and add half an inch. Cut out a piece of bleached muslin that measure that by 1.25 times the width of the skirt. You don't want much more than that; otherwise your skirt will be super puffy like mine was. Once again, you might want to cut a bit of an a-line to this piece to help with the puffiness. Sew the sides together and gather the top - it should look like it's own little skirt now.


Step 7: Finally, sew the top ruffle to the skirt! Make sure you pin it well first and check to make sure that it covers the top ruffle seam before you sew it.


Step 8: Sew the skirt onto the elastic. If you haven't done this before, basically you stretch the elastic as you sew it to the fabric. You need to pin it all together first though, so you know how much to stretch each section of elastic.

Ta da, you're done! I wore mine with a belt, because I thought it looked kind of funny otherwise. If anyone has any variations on this skirt that turned out a little better I'd love to see them!


Monday, August 2, 2010

Summer of Skirts - Anthropologie Ruffled Skirt Tutorial


Here it finally is - the anthropologie inspired skirt tutorial! There are two ways to do this. One is to make the whole skirt yourself using a knit fabric, and the other is to take an existing pencil or slim a-line skirt you already have and add the ruffles to it. If you choose to do the latter, simply skip to the ruffle steps below.

What you need:
- About a yard of knit fabric, depending on your size (see step 1 for details). This will be the main fabric - mine was grey.
- Two contrasting fabrics, about 1/4 to 1/8 each.


I made this skirt have a half lining to it because the knit was so thin. So, I had extra fabric along the inside.

Step 1: Measure around the widest part of your hips. Add 2 to that measurement. This is w. Also, measure how long you want the skirt to be, and how long you want the extra lining material to be - usually just enough to cover your rear is good- and add it to itself. This is L. Next, cut out two strips of skirt measuring L by w.


I'm sorry I didn't get pictures of this part. If you have questions let me know!

Step 2: Mark where your length measurement of the skirt ends (so you should have a mark between the extra lining fabric you added and the actual length you want your skirt to be). Fold the fabric at that point, so you wind up with a fold at the waistband, the normal skirt on one side, and the lining part on the other. Do this on both pieces of fabric, and then pin them together so the lining part is on the OUTSIDE.


Step 3: You might want to curve the top of the skirt, depending on where you want your skirt to sit. I wanted mine to sit on my waist, so I curved it along the hips a bit - with the lining still pinned and the skirt folded (because you'll want the lining curved as well). If you need help with this, go here. Now, simply sew the sides together on your two pieces of fabric, and you'll wind up with your main skirt piece. Now turn the skirt right side out, and you're onto the ruffles!

Step 4: Cut contrasting fabric number 1 into strips that are 1.5 times as long as the skirt is around (you may need to sew multiple strips together). Gather this strip, pin, and sew along the bottom of the skirt along the right side. Don't worry, the raw edges will be hidden by the next ruffle.

Step 5: Cut a strip of contrasting fabric #2 so that it is the same length as the skirt width (all around). Gather it, then pin it starting about 1/3 of the way away from the side seam. Pin it all around the skirt, stopping about the same distance from the seam on the back side. Sew it in place.
Step 7: Now cut a strip 1.5 times the skirt (I'm just going to call the measurement around the skirt 'the skirt' now... ) of the original skirt material. Pin it onto the skirt, slanting it up over the contrast ruffle you just did, like shown in the picture below. You want to make sure it still covers all of the seams of the lower ruffle but slopes up subtly. Sew it on!
Step 7: Next is another partway ruffle! Ruffle a strip of contrast #1 that is about the same length as 'the skirt', and sew it on starting a little closer to the side seam than the white ruffle was. Once again, slope it up so it follows the line of the previous ruffle.

Step 8: Here is your final ruffle! Get another strip of the original skirt fabric that is 1.5 times the 'skirt length' and ruffle and sew it around. However, this time you will pin it facing UP, as shown in the horrible blurry picture below. Make sure you pin it quite close to the previous ruffle, as it will fold over (to hide the seam) and lose some of it's height.


Now, just flip the top ruffle down and iron. Ta da!


Tuesday, July 27, 2010

Summer of Skirts - Anthropologie ruffle pencil skirt tutorial!


Eeek, I'm late. So sorry!

As I said before, no original summer of skirts post this week, but only because I have some AMAZING ones coming up and am just waiting for some equally amazing pictures! I'm still giving you guys a tutorial though - and an awesome one at that.


Check out Communing with Fabric's anthropologie skirt tutorial!

When I saw this tutorial, I knew I had to share it with you guys- I thought it was an impressive undertaking, and turns out well! I am so bad at pattern drafting - I cut first and think later. So it's good for me to have some master pattern-drafters featured here, I think :)


Next weekend, check back for a tutorial for this beautiful thing:


And if I do say so myself, my version turned out pretty wonderfully. And it was very easy!!

Sunday, July 25, 2010

Red Skirt Giveaway Winner - and more!


Thank you all for entering the red skirt giveaway! The winner this time is Jenn from WestSacHoney. Congrats to Jenn!

Keep checking the Giveaways page - I have an awesome, awesome shirt I'll be giving away soon. I'll probably start the giveaway next weekend, after I have some pictures taken of it!

Also, here is a picture of Allie (who won the dorothy dress giveaway) in her dress - isn't it cute on her??


Finally, one last thing - I was contacted by the website Giveaway Scout. They wanted me to add my blog! Giveaway Scout is an awesome site - here's what they say about themselves:

"Giveaway Scout is a giveaway search engine. Our users subscribe to receive updates on the latest giveaways on the web. Add your blog and your giveaways will be exposed to our large network or users."

If anyone is interested in entering their blog on this awesome site, visit here !

Wednesday, July 21, 2010

Red Skirt Giveaway -Ending soon!

My current giveaway will be ending this Saturday at midnight, and the winner will be announced on Sunday!

Enter while you can :)

Sunday, July 18, 2010

Up and coming tutorials!!!


Ok, I have some AMAZING things coming up!! I am so excited, I just have to let you know what I'm working on!

First, some bad news - I won't be posting a summer of skirts tutorial next weekend. The good news is that I will still feature someone's skirt tutorial next weekend, and also I have some really cool skirt tutorials coming up! The reason why there's not tutorial next weekend is because I'm waiting until my photographer is here to get some good pictures for you.


First, there's this skirt:

I got such a big response from this when I posted it, that I realized I had to make it! I've been looking for just the right fabric for it every since, and I just found some yesterday! I'm so excited :) This tutorial should be out in a couple weeks.


And here's another skirt I already made - it's pretty awesome and is a bit of a cross between these two skirts (I'll let your imagination try to figure it out!):


I also have a couple other shirt and dress tutorials coming up - one of which will turn into a giveaway!

And I've saved the best for last.... I made a convertible/infinity dress! You know, those awesome knit dresses that can be worn a million different ways? Take about the most versatile little black dress! I will be giving you a tutorial on that soon (also as soon as I get some pictures taken!) Here's an example (from the Butter by Nadia collection - she's amazing!) of some ways this dress can be work. Worried about being able to duplicate these? Don't worry - there are tons of videos on youtube that walk you through it!


LinkWithin

Related Posts with Thumbnails