
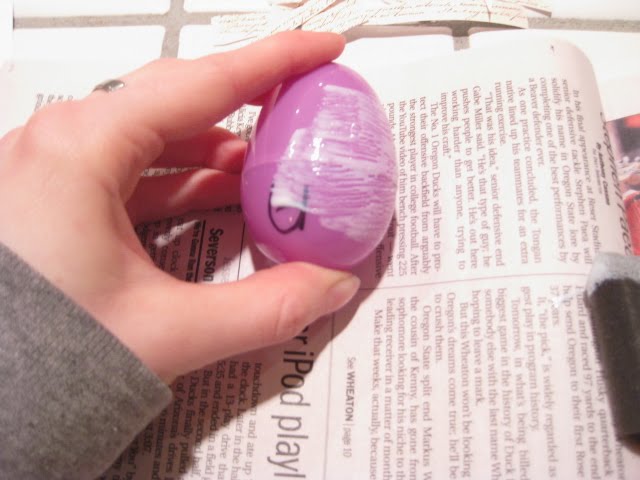
...in these adorable milkmaid aprons!! These beautiful aprons can be worn two ways; a standard apron and a more 'milk maidish' version. To make, see here.


 |  |  |


Features:


I LOVE this awesome tutorial made especially for us by Sew Petite Gal. This adorable tutorial is just a peek at the awesomeness that she creates! Check out her blog for some stylish tutorials!
I just want to first say how honored and thrilled I am to be guest-posting on Ruffles and Roses! This tutorial will show you how to create your own beaded pin for use as an epaulet or pin for cardigans, tees, blazers, headbands, etc.
First, here’s a look at my inspiration: ROCKSTAR Sushi Striped Embellished Epaulet Tee, Neiman Marcus, $121:

I love this shirt! It combines my favorite elements of nautical stripes, beading and shoulder/sleeve detail. I had a similar striped tee from Old Navy already and so I set off to make my epaulets since I really didn’t want to spend the money to buy the tee if I could make a similar version. I didn’t want to worry about the beads falling off in the washer so I decided to make it a pin instead of sewing it directly to the tee.
Materials:
Felt
Sheer Fabric
Invisible Nylon Thread and needle
Paper
Pin
Misc. beads – I used pearls, tubes, crystal-esque and silver beads

First, you’ll want to create some kind of template on scrap paper. I made kind of bulbous Saturn-esque shape that is approximately 5” wide by 3.5”. Using this template, cut this shape out from your sheer material. I used the solid border of the above fabric. Using your fingers, gently fray the edges.
Then you’ll want to cut out a smaller shape in felt. I decided to go with a leaf type shape since that was how I envisioned the bead distribution.

Center and place the felt piece behind your sheer fabric. Start sewing your beads on. (You can technically also glue your beads down but I was afraid that it would make it too stiff to lay flush against my shoulder.) I alternated different sizes and bead types. This is the tedious part but it’s worth it at the end! J
Once you’ve achieved the look / distribution of beads you’re going for, go ahead and secure the pin backing to the felt with a few stitches.
 Voila! You’re finished. This pin is ready for your t-shirt/cardigan/blazer/
Here’s how I wear mine:


 | ||
A few weeks back I made a skirt for my daughter inspired by this look from project runway. It was from the team challenge, from team millitary lace.
This is the skirt I made for my daughter tutorial found HERE |
 |
| Today we are going to make a few adjustments and make one for a grown up. |
 |
| So let's get started! You will need:
|
 |
| The pattern for this skirt is really easy. Here are the basic shapes. All straight lines so I cut it free hand. Then length of all the pieces is the same and that is the desired length you want the skirt (plus enough for hemming and finishing the top edge so add an inch or two) To get the width Measure around the widest part of your lower half for me it is around my hips and behind. Divide that in half this is the width of the front piece, then cut a back piece the same width plus 1 inch and cut that in half the long way so you have two rectangles (pictured on the right in the picture) With your front piece fold it in half and cut away the space for the side panels. How big you make them is up to you. I measured from where I would wear the skirt on my waist down just past my hip bone and that was how low I cut, as for width, I did about 5 inches. Again it's up to you and how you want it to look in the end. Then with the width of what you cut away (so for me 5 inches) cut two rectangles that width and the length of the skirt. Then you are done. Easy right? |
 |
| On to sewing. First sew under the top edge. (you can do this now to all of your pieces, it will save you time later) |
 |
| Then you are going to take your piping and pin it along the edge of your cut out. (on the right side of the fabric) Pin it piping facing in, and when you get to the corner as shown above you can put two little slits in the edge of the piping to help you round the corner. Once you pin it sew it in place following the stitching line that is already on the piping. |
 |
| Then turn the piping so the flap is in the wrong side of the fabric and your piping should neatly outline the cutouts and top stitch in place. |
 |
| This is what you should end up with. Do it for both sides of the cut out. |
 |
| Then take your long narrow rectangle and with the basting stitch sew along both long sides of the piece. |
 |
| Then pin your ruffled piece in side the cut out. |
 |
| On the back now. First sew the zipper in place. (follow the instructions on the zipper you buy) |
 |
Then sew the two back pieces together below the zipper. I thought I got a picture of this next step but I didn't sorry. Next you are just going to sew the right sides together along the side seams, sewing together the front and back pieces. |
 |
| If you tried your skirt on at this point then you probably noticed it is a box that is a gapping mess all around your waist. If for some reason it it not and it fits your perfect then skip this next part. So to pleat the top of the skirt so that it fits your body this is what I do. Measure around your waist where you will wear the skirt. Subtract that measurement from the measurement of the skirt. This will tell you how many inches you have to take out of the skirt. Starting in the middle back I place one pleat on each side of the zipper, and then another pleat and so forth until your measurement becomes your waist measurement. To make these pleats, fold the fabric over so right sides are together and place a pin how narrow or wide you make the pleats depends on how much you are taking in. Then measure from your waist down to where your widest point is, this tells you how long your pleats should be. I pin the whole pleat and then Try the skirt on inside out o see if it is a good fit. |
 |
| Then sew your pleats. The bottom of your pleat needs to taper off real gradually so your done have a weird pucker on the outside so make it a gradual slope (like pictured above) |
 |
| When you are done pleating, you re done with your skirt. After this I added a few buttons to the front, but that is optional, do what you like. |
 |
| Try it on |
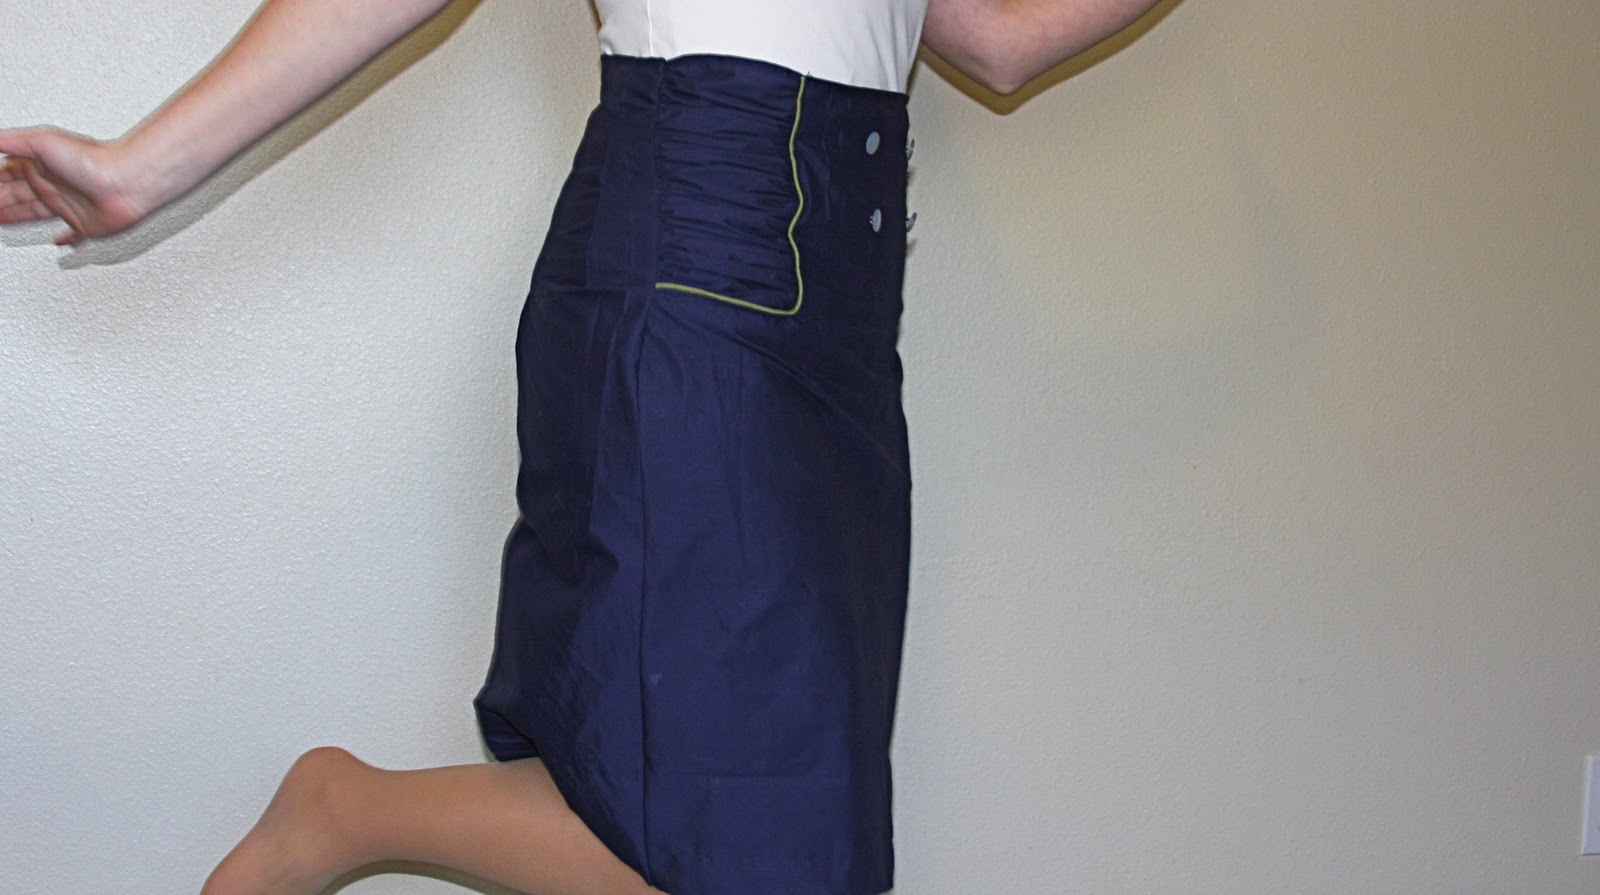 |
| Jump around |
 |
| And Enjoy! |
